
Canvas size and setup
Every piece has a few basic settings: its size and shape, how long it runs, and how many frames a second it plays at. Set them early, before you build the scene.
Set the canvas size
- In the Layers panel, click Scene at the top of the list.
- At the top of the properties panel, type a Canvas width and Canvas height in pixels.
- Press Enter, or click away, to apply.
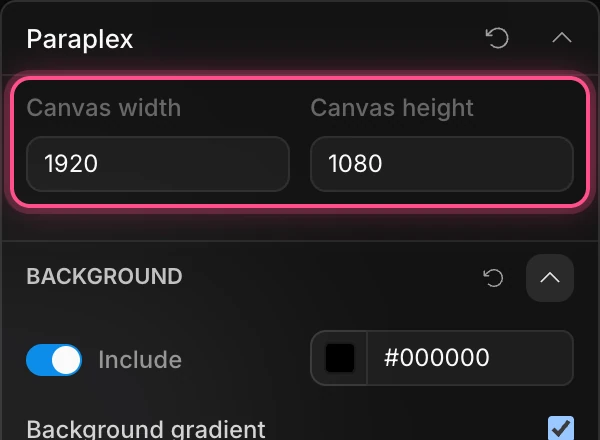
New projects start at 1920×1080. The Scene row in the Layers panel always shows the current size.
Pick an aspect ratio
For a standard shape, choose Menu › Aspect ratio:
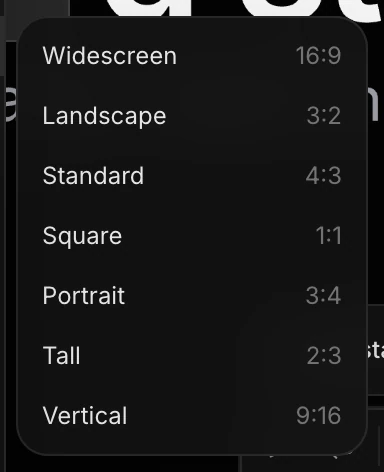
| Preset | Size | Good for |
|---|---|---|
| Widescreen 16:9 | 1920×1080 | YouTube, presentations, website heroes |
| Landscape 3:2 | 1620×1080 | Photos, web banners |
| Standard 4:3 | 1440×1080 | Classic screens, slides |
| Square 1:1 | 1080×1080 | Feed posts |
| Portrait 3:4 | 1080×1440 | Tall feed posts |
| Tall 2:3 | 1080×1620 | Pinterest, posters |
| Vertical 9:16 | 1080×1920 | Reels, TikTok, Shorts, Stories |
Important
Changing the shape doesn't move or resize your layers. Going from wide to vertical can leave layers outside the narrower frame, so check your scene afterwards. Layers set to Pin to frame keep their place. See Align, distribute and pin.
Need the same piece in several shapes? Don't change the canvas. Add export formats instead, and Paraplex reframes one scene for each. See Formats and artboards.
Set how long the piece runs
The duration is in the timeline's header.
- Click the number after Duration:.
- Type a length in seconds, from 1 to 60.
- Press Enter, or Esc to cancel.

New projects run for 8 seconds.
Set the frame rate
The frame rate is how many pictures a second your video holds. Click the 30 fps button in the timeline's header to change it. The button shows only while the timeline is expanded.
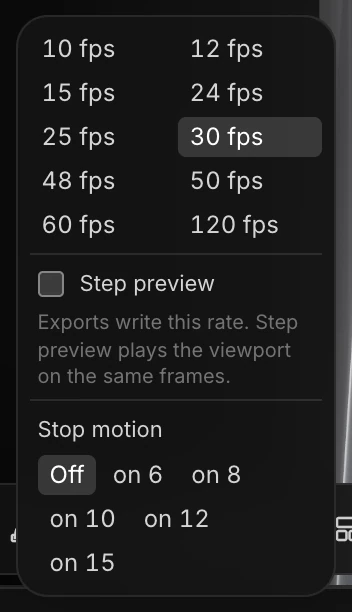
- Rates run from 10 to 120 fps. Use 24 for a film look, 30 for most social video, and 60 for very smooth motion. Exports are written at this rate. GIFs top out at 25 fps.
- Step preview makes the canvas play on the same frames the export will. Turn it on to judge a low frame rate before you export.
- Stop motion holds each picture for a few frames, for a handmade, choppy feel. For example, on 12 animates 12 times a second inside a 30 fps video. It applies to everything in the frame, in the editor and in exports. The sound plays normally.
Keyframes are measured in seconds, so changing the frame rate never moves your animation.
Set the playback speed
Playback speed is in the Scene's Speed Ramp section. At 1 the piece plays at normal speed, 0.5 is half speed, and 0 stops time. Keyframe it to make slow motion, a freeze or a burst of speed. See Speed ramps and frame rate.
Show a platform's safe zone
Social apps cover the edges of a video with buttons, captions and profile names. A safe zone shows you where, so you can keep your text clear of them.
- Choose Menu › Safe zones.
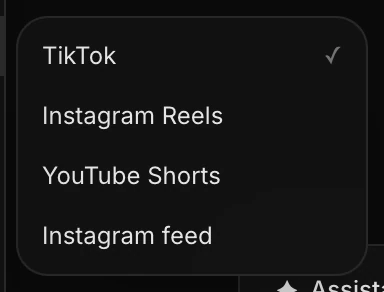
- Pick a platform: TikTok, Instagram Reels, YouTube Shorts or Instagram feed.
The covered areas are tinted pink, with a dashed box around the space that stays clear and a label showing how much of the frame is usable.
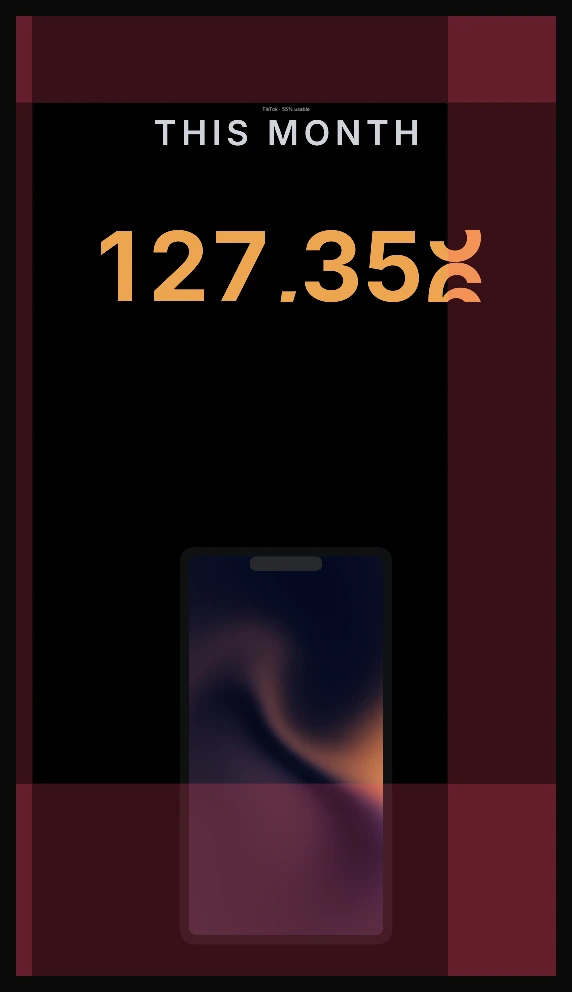
Choose the platform again to hide it. Only one safe zone shows at a time. Safe zones are a guide only: they're never in your export.