
Make a 3D product showcase

You'll take the Card stack template and make it yours: five of your pictures dealt onto 3D cards one at a time, your own title, and a slow camera move.
You'll learn how to
- start from a template
- change a setting on several layers at once
- put a picture on a 3D card
- edit text on the canvas
- add a camera move
- export an MP4
Before you start: five pictures of your products or work, as JPG, PNG or WebP. Upright pictures suit the cards best. These steps use five abstract prints of light.
Part 1: Open the template
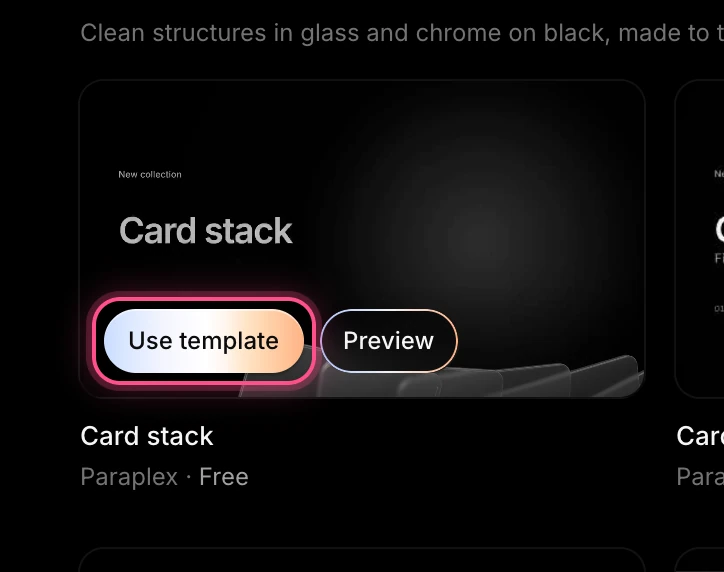
On the home page, under Starter templates, hover Card stack and click Use template. It opens in the editor, ready to play: press Space to watch the five cards being dealt.
Part 2: Clear up the cards
The cards are made of Liquid Glass, which frosts anything on them. For pictures that show crisply, switch all five to a normal surface in one go:
- In the Layers panel, click Card 1, then hold Shift and click Card 2, Card 3, Card 4 and Card 5 (1). All five are selected.
- In the properties panel's Compositing section, set Blend mode to Normal (2).
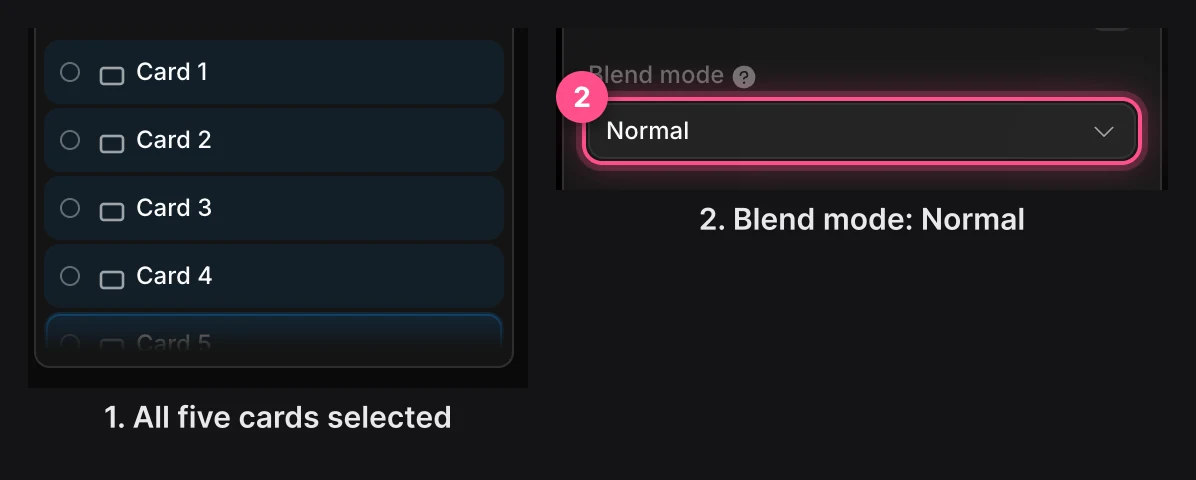
A change made with several layers selected applies to all of them. See Properties panel.
Part 3: Put your pictures on the cards
- In the Layers panel, click Card 1.
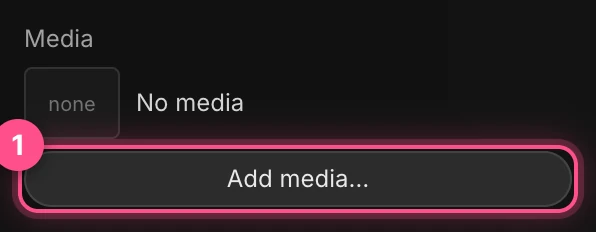
In the Panel Fill section, click Add media… (1) and choose your first picture. It fills the card's face.
- Do the same for Card 2 to Card 5, one picture each.
Part 4: Write your own words
Double-click a line of text on the canvas to edit it. Select the words, type new ones, and press Esc.
- Double-click Card stack and type your title. These steps use
Light Studies. - Double-click Five cards, dealt one at a time. and type a subtitle, such as
Five prints, dealt one at a time. - Change New collection too, if you like.
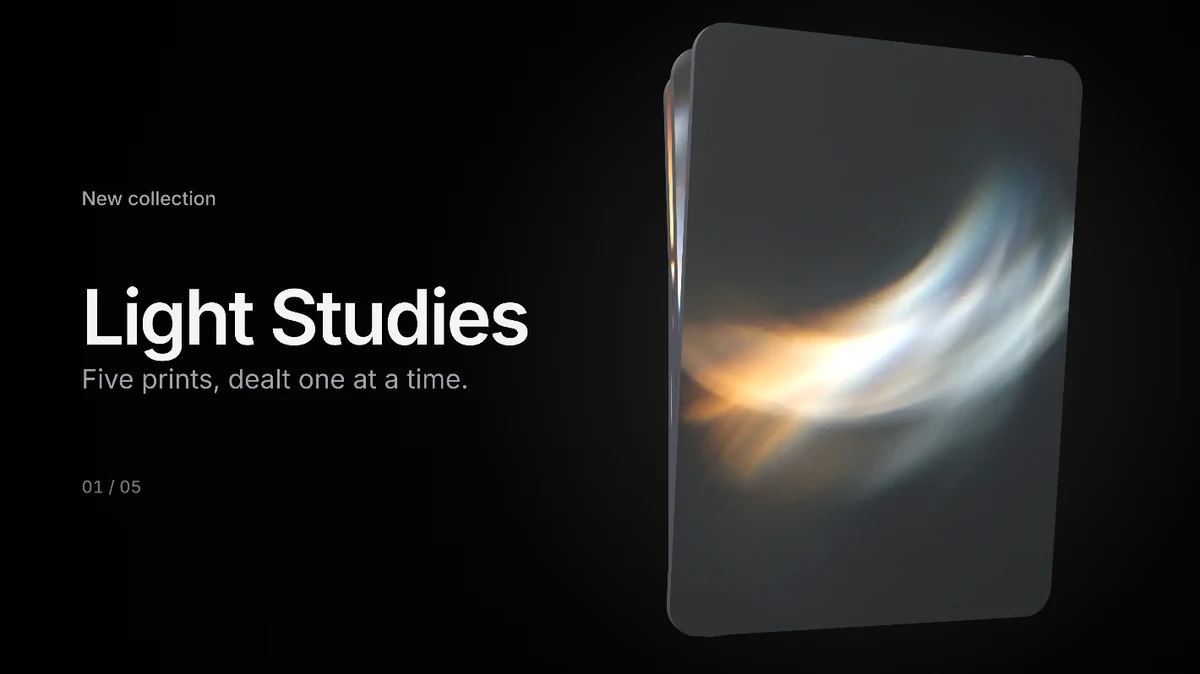
The counter under the subtitle (01 / 05) counts the cards by itself. Pause anywhere in the first few seconds, and your frame looks like this:
Tip
Canvas clicks are ignored while the piece plays, so pause (Space) before double-clicking.
Part 5: Add a camera move
A slow camera move adds depth to the whole piece.
- Click Scene at the top of the Layers panel, and put the playhead at the start.
- In Camera › Camera move, set Move to Pull back (1) and Seconds to
8(2), the length of the piece. - Click Add camera move (3).
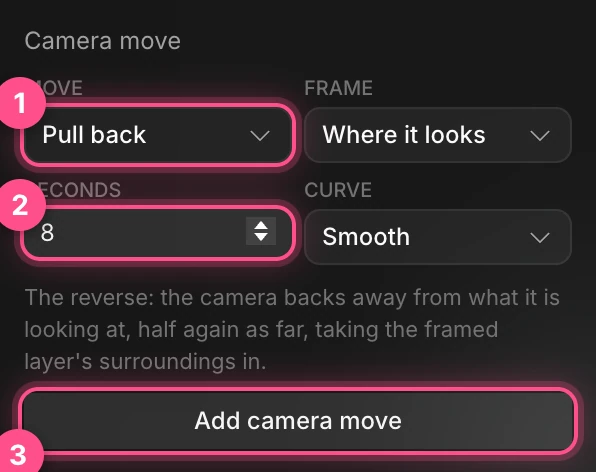
The camera eases back over the eight seconds, so the frame slowly opens up around the cards. Press Space to watch.
Note
Why not Push in? Moving a third closer over eight seconds would crop the title off the left edge. Try it, then undo (⌘ Z): each camera move is one step in undo.
Export it
- Press Esc so nothing is selected.
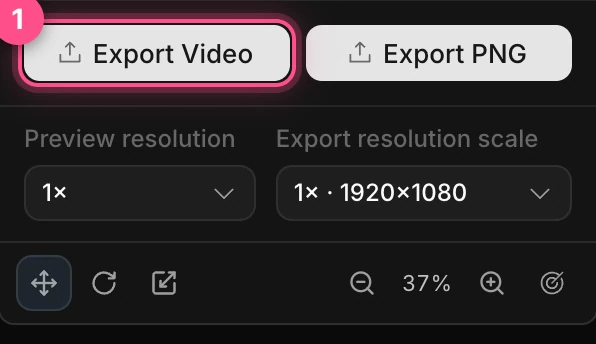
- Click Export Video (1) at the bottom of the properties panel. Your browser downloads a 1920 × 1080 MP4.
Try this next
- Try other moves: Orbit circles the scene, and Dolly zoom gives the dizzy "Vertigo" effect. See Camera moves and shake.
- Keep the glass look instead: the Card stack, glass template is built for it. See Glass and Liquid Glass.
- Change the cards' shape or corner roundness in their Panel section. See Shapes and frames.
- Next tutorial: Make a looping website hero.