
Align, distribute and pin
Line layers up along an edge or their middles, space them evenly, or center one in the frame. And pin a layer, like a logo, to a corner, so it stays there on a vertical video, a square post and every other format.
Align and distribute
The buttons are in the Transform section.
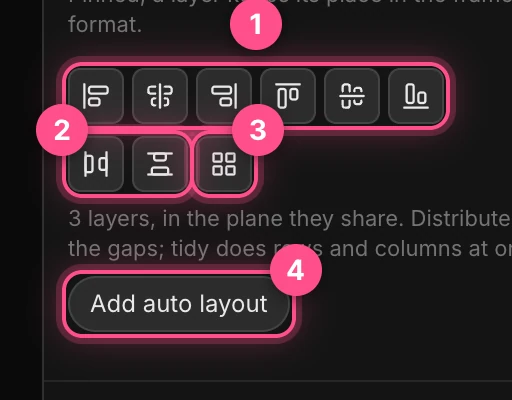
- Align left, Align centers, Align right, Align top, Align middles, Align bottom.
- Distribute horizontally and Distribute vertically even out the gaps. They need three layers or more.
- Tidy up sorts loose layers into neat rows. It needs three or more too.
- Add auto layout wraps the layers in a group that keeps them lined up. See Layouts and bentos.
To line up layers: select two or more (click the first in the Layers panel, then ⌘ Cmd-click the others), then click a button. They line up with the edges or middle of the selection as a whole.
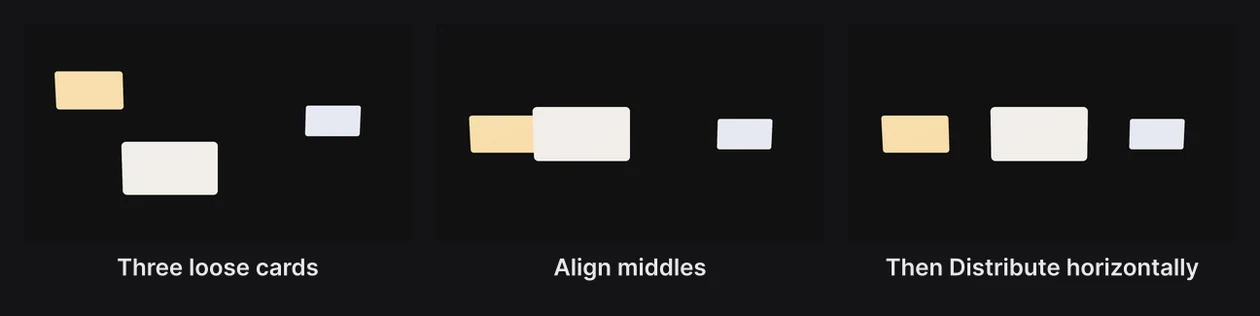
Distribute keeps the two outer layers where they are and moves the ones between, so the gaps are all the same.
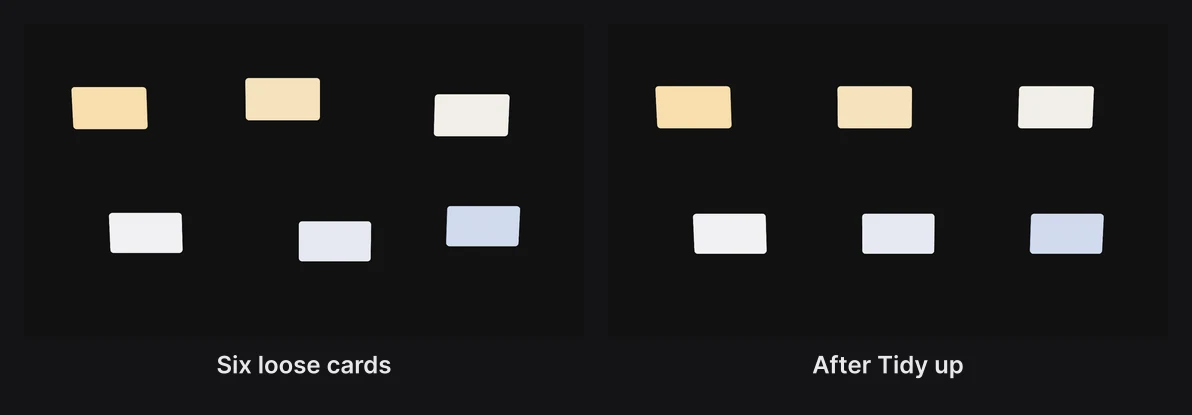
Tidy up reads the layers as rows, lines each row up on its middle, evens out the gaps, then evens out the space between the rows.
Aligning only moves layers. It never resizes them, and it ignores their rotation. Each click is one step for undo.
Center a layer in the frame
With one layer selected, the aligns use the frame instead: Align centers puts it in the middle across, Align middles in the middle up and down. Click both to center it. Align left, Align top and the others take it to that edge of the frame.
A layer inside a group aligns to the group instead, and layers can only be aligned with others in the same group.
Note
Text aligns by its box, and a text's box can be taller than its words, so centered text can sit a little high. In Text settings › More › Box, set Resize to Auto height, or Lines at to Middle. See Text.
In 2D design mode, smart guides also snap layers to each other's edges and centers as you drag.
Pin to frame
A pinned layer keeps its place in the frame: the top-right corner stays the top-right corner when the camera moves, when you make a 9:16 or square version, and in every export.
- Select the layer: a shape, a text or a group.
- In the Transform section, set Anchor to where it belongs.
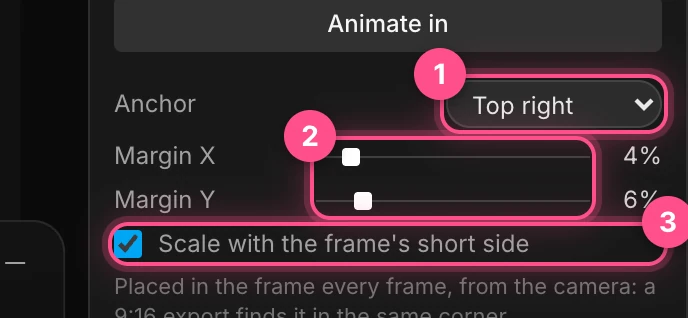
- Anchor: Top left, Top, Top right, Left, Center, Right, Bottom left, Bottom or Bottom right. Not pinned frees it again.
- Margin X and Margin Y: how far in from the edges, as a share of the frame's width and height.
- Scale with the frame's short side keeps it the same size relative to the frame, so it shrinks on a narrow vertical frame. Untick it to keep its size.
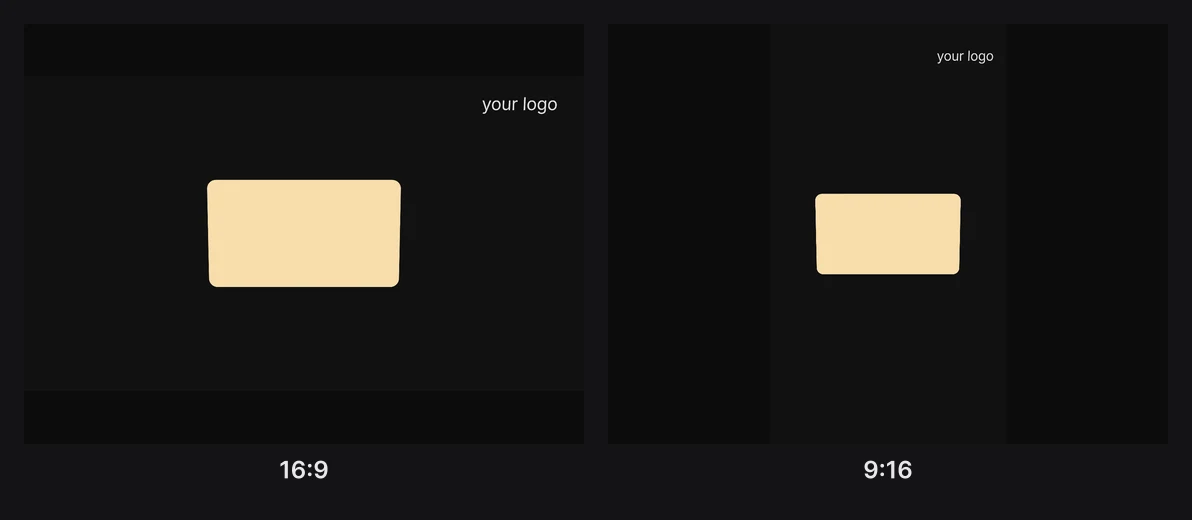
The pin decides the layer's position across and up and down. Its depth (Position Z) stays yours.
Important
A layer inside a group can't be pinned on its own; the setting has no effect there. Pin the whole group instead.
See Social formats and safe zones and Formats and artboards for making several formats from one scene.