
Camera and lens
Every scene is filmed by one camera. What it sees is what you export. Its settings, and its lens's, belong to the Scene.
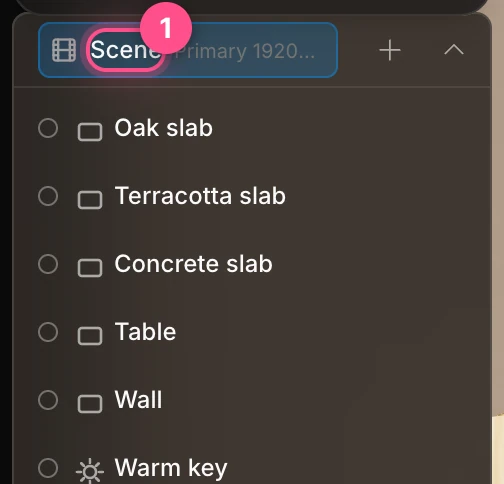
Where to find it: click Scene at the top of the Layers panel (1). The Camera, Shake and Lens sections appear in the properties panel.
The Camera section
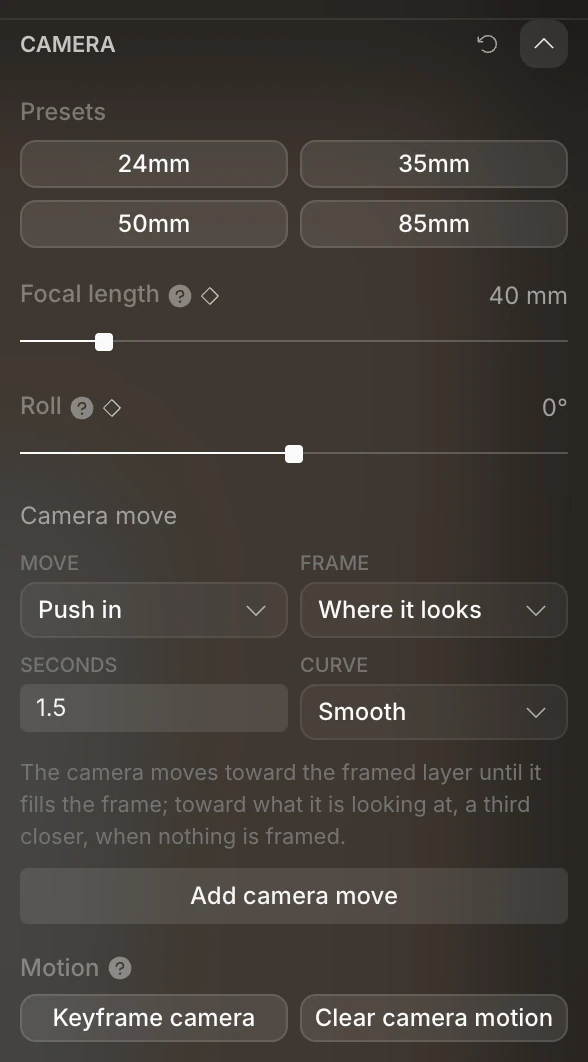
| Setting | What it does |
|---|---|
| Presets | 24mm, 35mm, 50mm and 85mm set the focal length in one click |
| Focal length | From 14 to 200 mm. A short lens is wide: it sees more of the scene, with stronger perspective. A long lens sees less, and looks flatter. |
| Roll | Tilts the camera sideways, from −180° to 180° |
| Camera move | Ready-made moves like a push in or an orbit. See Camera moves and shake. |
| Motion | Keyframe camera and Clear camera motion. See Animate the camera. |
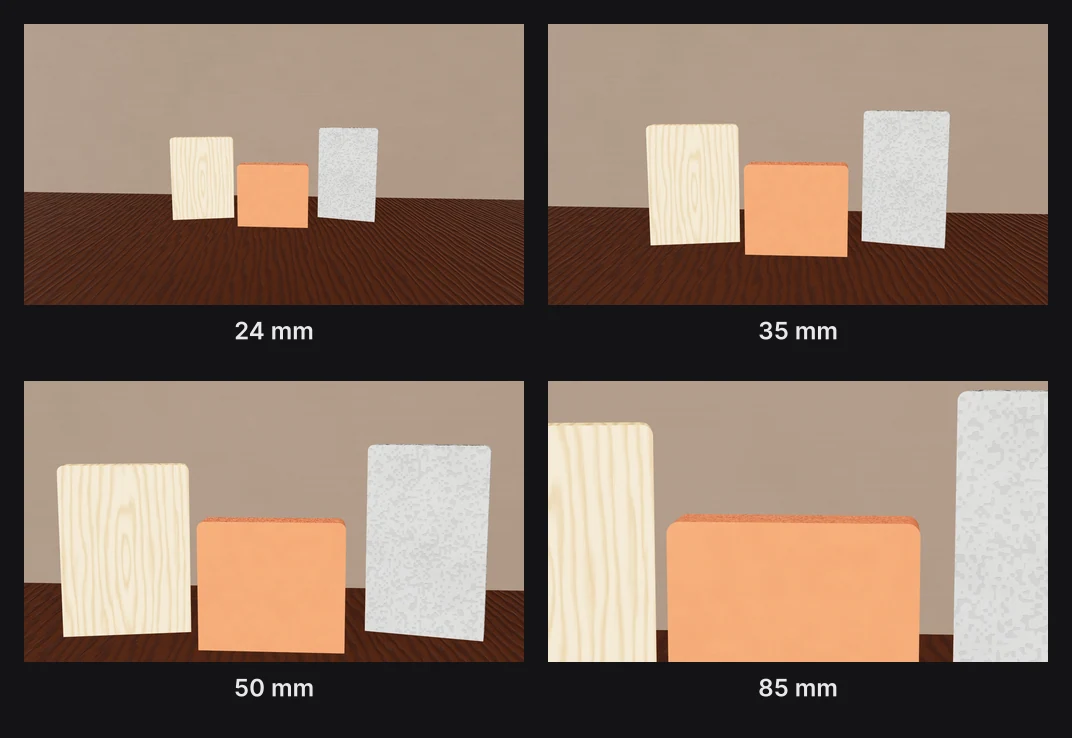
Frame the shot
Drag on the frame to orbit the camera around the scene, and middle-drag to move it closer or further away. See Moving around the canvas.
Important
Orbiting moves the real camera, so it changes what you export. It isn't part of undo. Reset view (F) takes the camera back to the scene's home view.
Animate the camera
There's no box to type the camera's position into. Instead, you frame a view and record it:
- Select Scene, and put the playhead where the move should start.
- Frame the first view by orbiting, then click Keyframe camera.
- Move the playhead to where the move should end.
- Frame the second view. Once the camera has keyframes, every orbit records a keyframe at the playhead by itself.
- Press Space to watch the camera fly between the two.

The keyframes go on six lanes: Camera X, Y and Z for where the camera is, and Look X, Y and Z for the point it looks at. With the Scene selected, they're at the top of the timeline.
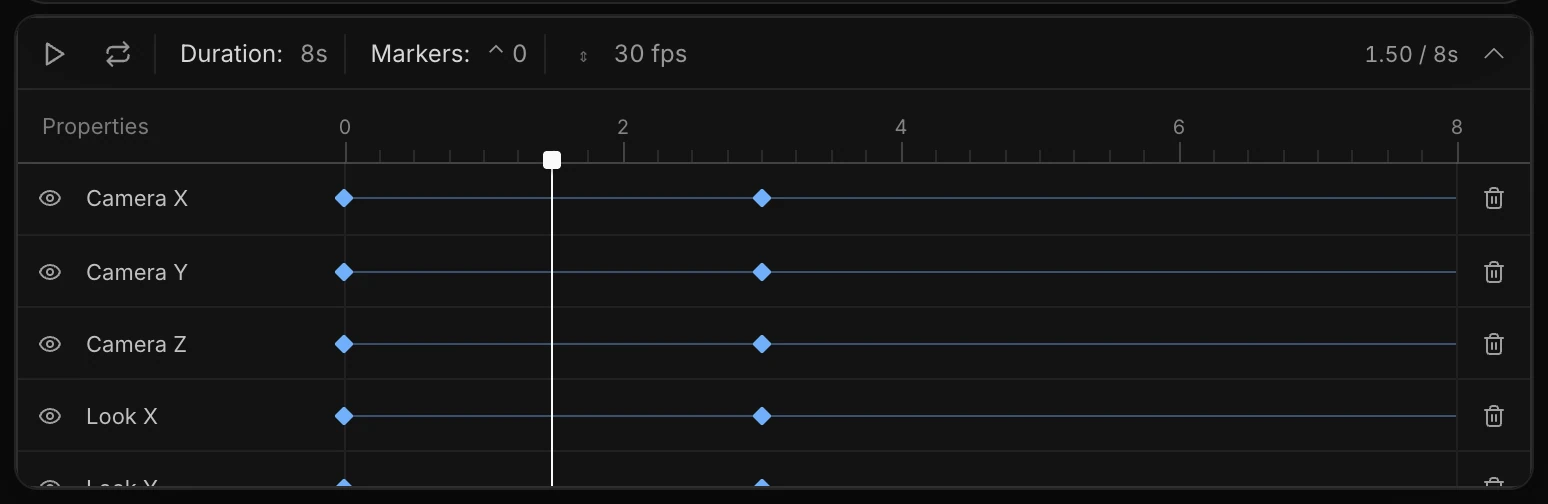
Clear camera motion deletes those six lanes. Focal length, focus and shake keyframes stay.
Warning
Keyframe camera, and the keyframes orbiting adds, can't be undone. And if the scene opened with camera motion, as many templates do, Reset view puts the camera's keyframes back the way they came, replacing yours. Once you're happy with your camera animation, right-click the canvas with nothing selected and choose Make this the home view, so Reset view comes back to your version.
For moves you don't have to frame by hand, such as a push in or a dolly zoom, see Camera moves and shake.
The Lens section
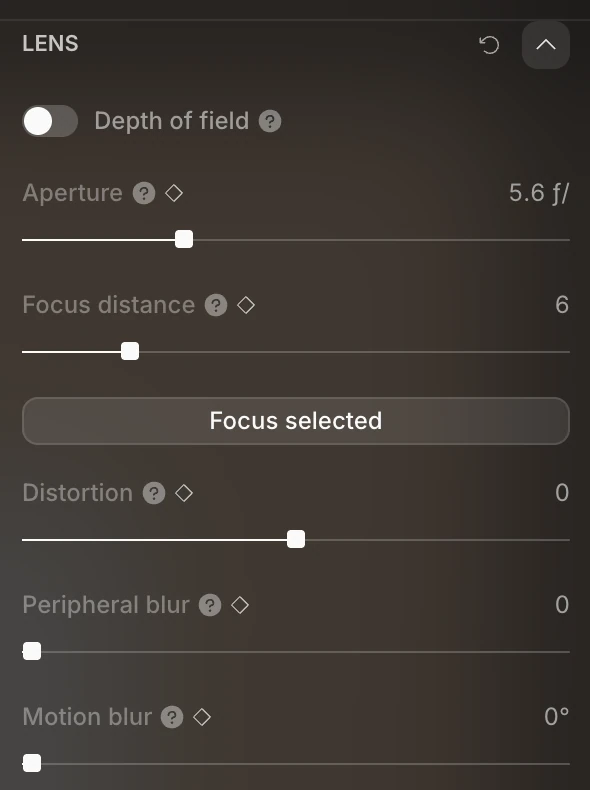
| Setting | What it does |
|---|---|
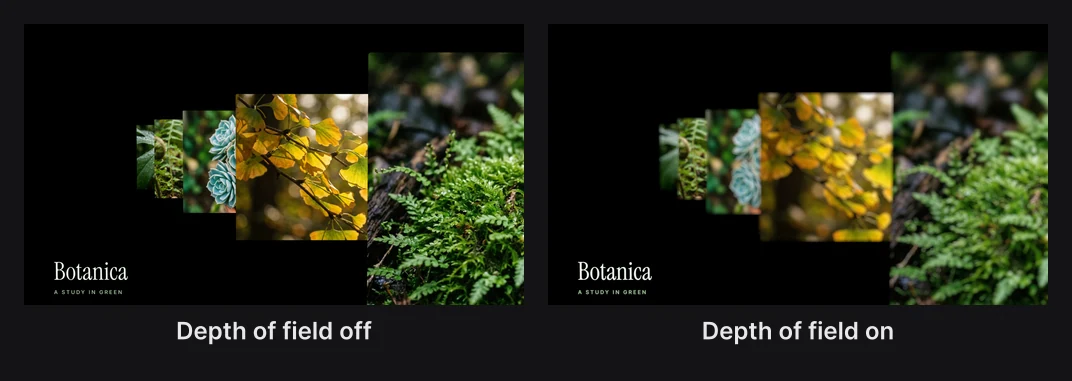
| Depth of field | Turns on focus blur: things nearer or further than the focus distance go soft. Off to start with. |
| Aperture | How strong the blur is, from ƒ/1.4 (very blurry) to ƒ/16 (nearly all sharp). Starts at ƒ/5.6. Needs Depth of field on. |
| Focus distance | How far from the camera things are sharp, from 0.5 to 30 |
| Focus selected | Sets the focus distance to the last layer you selected. See below. |
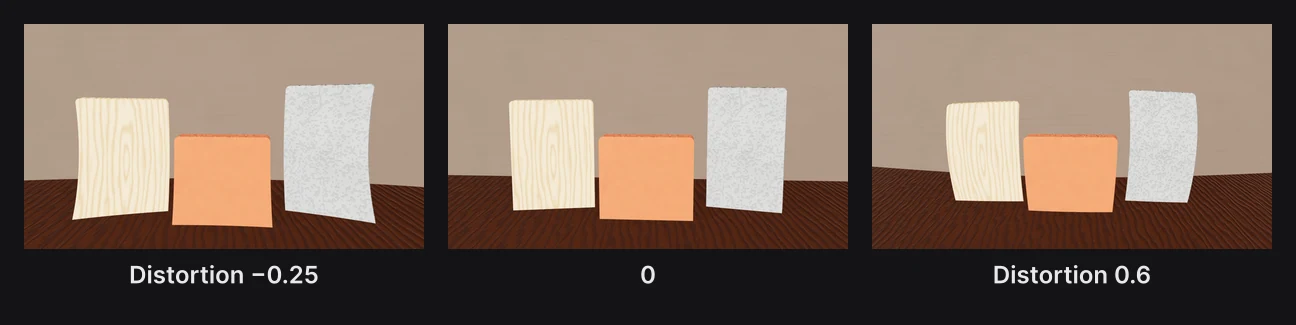
| Distortion | Bends the picture like a real lens. Below 0, the edges pinch in. Above 0, they bulge out, toward a fisheye. |
| Peripheral blur | Softens the edges of the frame |
| Motion blur | Blurs fast movement, set as a shutter angle from 0° to 360°. 180° is the classic film look. |
Every setting here except Depth of field can be keyframed, so you can pull focus or change the lens mid-shot.
To focus on a layer:
- Select the layer you want sharp, in the Layers panel or on the canvas.
- Select Scene.
- Turn on Depth of field, then click Focus selected.
It works on shapes, panels and text. For a focus pull that moves from one layer to another, use the Rack focus camera move.
Note
Motion blur shows only in exported videos. The canvas stays sharp while you work.
Look through a 3D model's camera
Some 3D model files (glTF) come with cameras of their own. Select the model: a panel of its settings appears over the canvas. Choose a camera under View. The frame, and every export, then looks through that camera, and Focal length and Roll don't apply.
A label at the top of the canvas shows which camera you're looking through. Click Editor camera on it to go back. See 3D models and splats.